The Traefik - Authelia Docker SSO Stack
What is Traefik?
The simplest, most comprehensive cloud-native stack to help enterprises manage their entire network across data centers, on-premises servers and public clouds all the way out to the edge.

Why should you use it?
If you want to run several containers on a single server and have more than one of them respond to web traffic, you have to use a reverse proxy like Traefik.
Basics
Traefik Providers
Traefik supports different types of providers to supply configuration to it. We are using Docker provider and File provider here.
Docker Provider
It is used to configure our proxy through Docker labels.
File Provider
Since Docker provider does not support proxying external URLs we are using the file provider.
Prerequisite
- A Machine with
dockeranddocker-composeinstalled - Cloudflare account (Optional).
- Portainer (Optional)
- Running Home Assistant Docker stack
- Lots of patience
My setup
- Raspberry Pi 4 - 4G running DietPi
- WD Green 240 GB SSD Connected Amazon
- Orico Enclosure USB3.1 Gen 2 Amazon
- Connected via Ethernet
Traefik Installation
My storage location will be /mnt/dietpi_userdata/traefik
The domain I will be using is lan.siddhu.dev
Get CloudFlare token
Login to CloudFlare
- Click on the User Icon on the right top.
- Navigate to
API Tokens. - Click on
Vewnext toGlobal API Key. - Complete captcha if shown.
- Copy the key to use with stack below.
Create a dedicated network for connecting all containers and stacks
$ sudo docker network create --driver=bridge --attachable traefik-public
725626e1ece9d2b292a551c441140a94c23a24588860022998ebf83f9b403cf7
You can create a network in Portainer from Networks -> Add Network, Select Driver Bridge, and turn on Enable manual container attachment
Create Traefik stack
Important Notes:
-
The Traefik itself will be using
traefik.lan.siddhu.devdomain . -
Traefik requires you to define "Certificate Resolvers" in the configuration, which is responsible for retrieving certificates from an ACME server.
-
We will be using the resolver name
letsencrypt, just a name you can use anything. -
The configuration below is used to create a wildcard cert for all domains under
lan.siddhu.devsince LetsEncrypt comes with rate limits .
      - 'traefik.http.routers.traefik.tls.domains[0].main=lan.siddhu.dev'
      - 'traefik.http.routers.traefik.tls.domains[0].sans=*.lan.siddhu.dev'
- In Dynamic Configuration
local-ipshould be replaced with your Raspberry Pi / VM IP, this once is used for proxying all the devices running in the dockerhostnetwork. All docker containers are configured through the Portainer itself.
Create folders
mkdir -p /mnt/dietpi_userdata/traefik/confs
nano /mnt/dietpi_userdata/traefik/confs/traefik.yml
## traefik.yml

# Docker configuration backend
providers:
  docker:
    endpoint: "unix:///var/run/docker.sock"
    exposedByDefault: false
  file:
    directory: "/etc/traefik"
    watch: true

# API and dashboard configuration
api:
  insecure: true

entryPoints:
  web:
    address: ":80"
    http:
      redirections: # Force redirect to https
        entryPoint:
          permanent: true
          to: websecure
          scheme: https
  websecure:
    address: ":443"

certificatesResolvers:
  letsencrypt:
    acme:
      #caServer: https://acme-staging-v02.api.letsencrypt.org/directory
      storage: /letsencrypt/acme.json
      email: your-email@gmail.com
      dnschallenge:
        provider: cloudflare

## DYNAMIC CONFIGURATION
http:
  routers:

    esphome:
      rule: "Host(`esphome.lan.siddhu.dev`)"
      service: esphome-service
      priority: 1000
      tls:
        certresolver: letsencrypt
      entryPoints:
        - websecure

    homeassistant:
      rule: "Host(`ha.lan.siddhu.dev`)"
      service: homeassistant-service
      priority: 1000
      tls:
        certresolver: letsencrypt
      entryPoints:
        - websecure

  services:

    esphome-service:
      loadBalancer:
        servers:
          - url: "http://local-ip:6052"

    homeassistant-service:
      loadBalancer:
        servers:
          - url: "http://local-ip:8123"
Create a new stack named traefik in portainer
version: "3.3"

services:

  traefik:
    image: "traefik:v2.5"
    container_name: "traefik"
    labels:
      - 'traefik.enable=true'
      - 'traefik.http.routers.traefik.rule=Host(`traefik.lan.siddhu.dev`)'
      - 'traefik.http.routers.traefik.entrypoints=websecure'
      - "traefik.http.routers.traefik.tls.certresolver=letsencrypt"
      - 'traefik.http.routers.traefik.tls=true'
      - 'traefik.http.routers.traefik.tls.domains[0].main=lan.siddhu.dev'
      - 'traefik.http.routers.traefik.tls.domains[0].sans=*.lan.siddhu.dev'
      - 'traefik.http.services.traefik.loadbalancer.server.port=8080'
      - "traefik.docker.network=traefik-public"
    environment:
      - "CF_API_EMAIL=your-email@gmail.com"
      - "CF_API_KEY=cloudflare-api-key-here"
    ports:
      - "80:80"
      - "443:443"
      - "8080:8080"
    volumes:
      - "/mnt/dietpi_userdata/traefik/letsencrypt:/letsencrypt" # used for storing certifcates and l3 related data
      - "/mnt/dietpi_userdata/traefik/confs:/etc/traefik" # file provider for Traefik
      - "/var/run/docker.sock:/var/run/docker.sock:ro"
    restart: unless-stopped
    networks:
      - traefik-public

networks:
  traefik-public:
    external: true
Check with browser
Open the url traefik.lan.siddhu.dev in browser, it may throw SSL error for few minutes. If it happends try after 1 or 2 minutes.
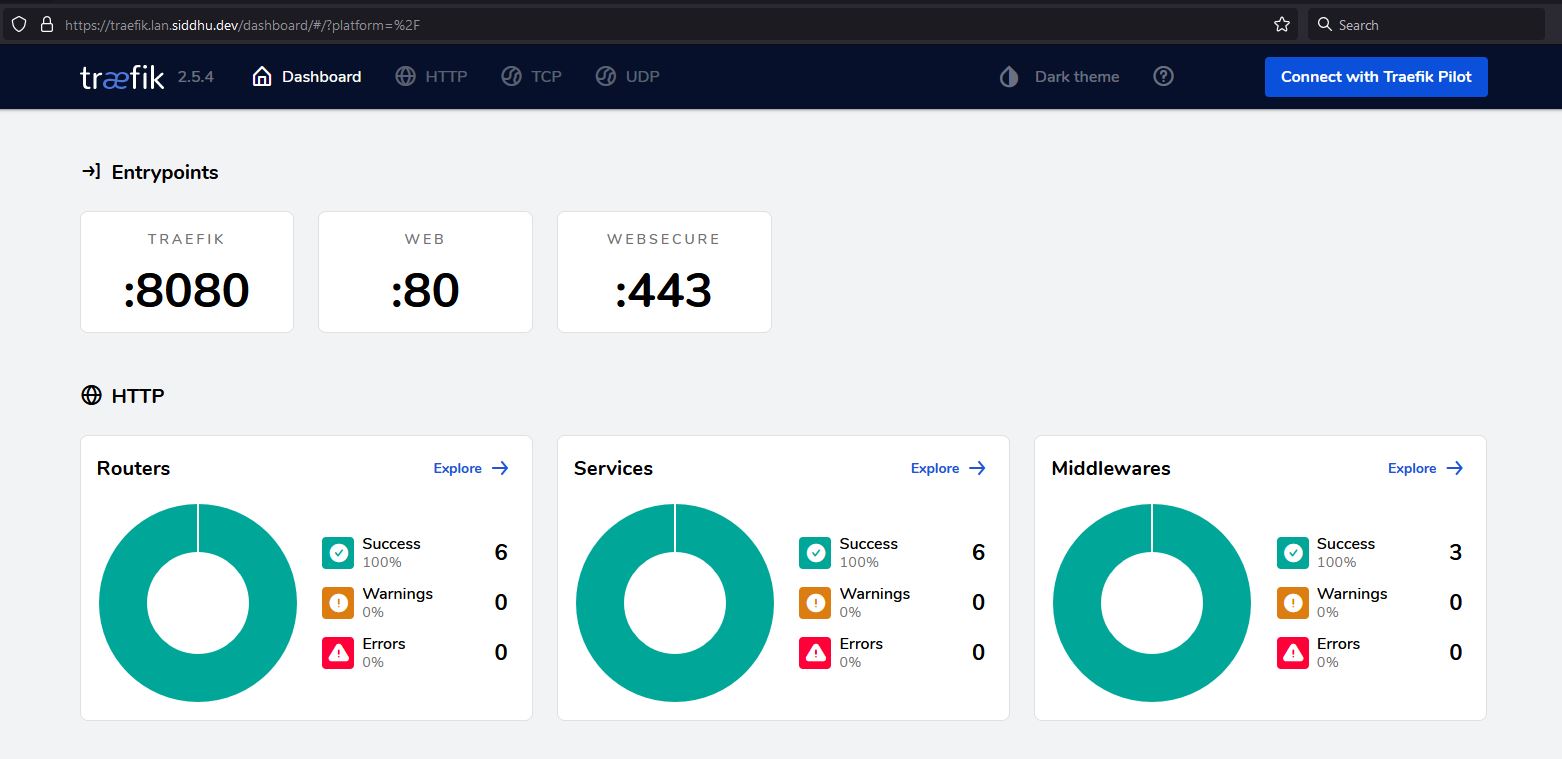
If everything goes well procced to next step
Creating a new Proxy with Traefik
Dozzle is a log viewer for docker containers. Let deploy one with SSL cert in Treafik
version: "3"
services:
  dozzle:
    container_name: dozzle
    image: amir20/dozzle:latest
    volumes:
      - /var/run/docker.sock:/var/run/docker.sock
    #ports:
     # - 9999:8080
    labels:
      - "traefik.enable=true"
      - "traefik.http.routers.dozzle.rule=Host(`dozzle.lan.siddhu.dev`)"
      - "traefik.http.routers.dozzle.entrypoints=websecure"
      - "traefik.http.routers.dozzle.tls.certresolver=letsencrypt"
      - "traefik.http.routers.dozzle.tls=true"
      - "traefik.http.routers.dozzle.middlewares=authelia@docker"
      - "traefik.http.services.dozzle.loadbalancer.server.port=8080"
      - "traefik.docker.network=traefik-public"
    restart: unless-stopped
    networks:
      - traefik-public
networks:
  traefik-public:
    external: true
Within a few seconds it will appear on Traefik dashboard and you can use it with the URL dozzle.lan.siddhu.dev
For every New server you must add labels and networks in container
    labels:
      - "traefik.enable=true"
      - "traefik.http.routers.dozzle.rule=Host(`dozzle.lan.siddhu.dev`)"
      - "traefik.http.routers.dozzle.entrypoints=websecure"
      - "traefik.http.routers.dozzle.tls.certresolver=letsencrypt"
      - "traefik.http.routers.dozzle.tls=true"
      - "traefik.http.routers.dozzle.middlewares=authelia@docker"
      - "traefik.http.services.dozzle.loadbalancer.server.port=8080"
      - "traefik.docker.network=traefik-public"

    networks:
      - traefik-public
And network under service
networks:
  traefik-public:
    external: true